Brow lamination and henna brows are two very popular ways to enhance the look and definition of your eyebrows. But can you do brow lamination with henna brows?
Brow lamination can be done with henna in some cases, but choosing one of the other might be the best option for your brows. Some experts say that doing both can cause damage to the brows. However, if you wait a few days in between services, little to no damage will be done.
This post contains affiliate links and we may earn if you click on them (at no extra cost to you). Please read our full disclosure policy here.
What Are Henna Eyebrows?
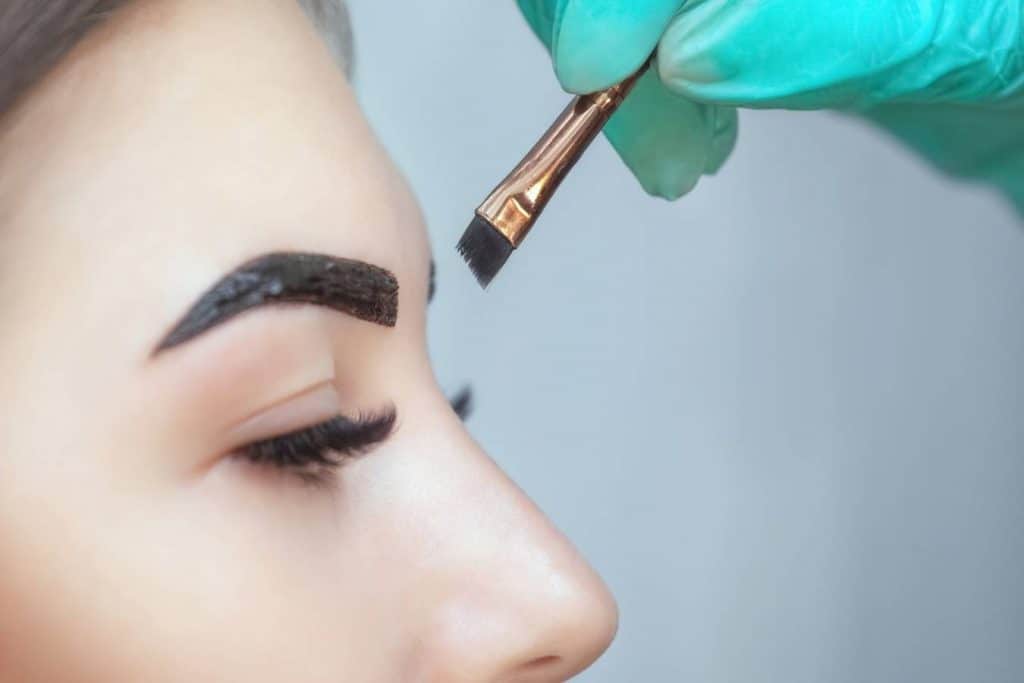
Henna eyebrows are a type of eyebrow tinting that fills in the brows.
Unlike traditional tinting, henna stains the skin underneath the eyebrow hairs instead of the eyebrow hairs themselves.
This creates a fuller, more even-looking brow.
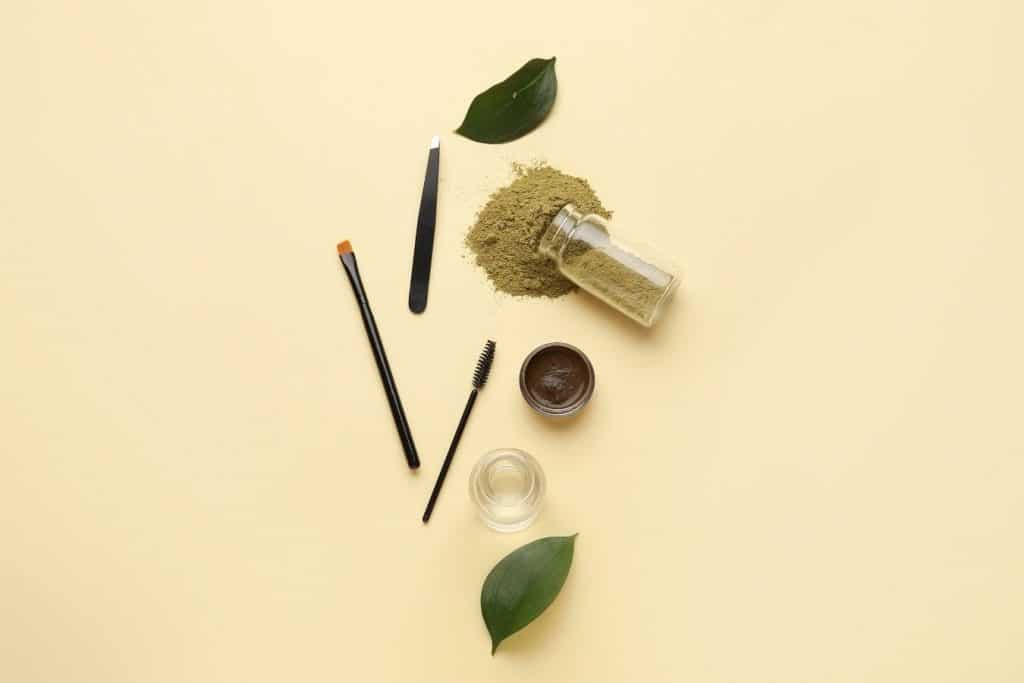
Henna is a natural ingredient that is derived from the plant henna.
Originating in Ancient Egypt, henna has been used for centuries as a natural dye for hair, makeup, clothing, and more.
People with an allergy to hydrogen peroxide choose henna since it doesn’t have any in it, as opposed to other dyes.
Henna comes in a variety of different colors, so it is possible to darken your eyebrows if that is what you’re looking for.
Also, henna tinting lasts up to 5 weeks before fading away.
What Is Brow Lamination?
Brow lamination is often referred to as a perm for your eyebrows.
A solution is applied 2 to 3 times over the brows, lifting all of the individual hairs in an upward, vertical direction. This makes all the hairs look uniform and defined, as well as gives the brows a sleek, polished look.
Brow lamination is also responsible for giving eyebrows a fluffy effect.
Brow lamination lasts for 6 to 8 weeks before having to get a touch-up.
This is perfect for people who aren’t sure if they want to commit to getting their brows done and just want to test the waters.
As opposed to henna tinting, brow lamination works with the hairs you already have.
So there is no pigment placed onto the hair or skin.
However, brow lamination usually makes the brows appear a shade or two darker since all of the hairs are being brushed together in unison.
Can You Do Brow Lamination On Henna Brows?
Yes, some eyebrow artists will do brow lamination on top of henna brows. However, it is recommended that the services are done days apart from one another to give the brows time to heal and breathe.
Henna tinting changes the color of your brows while making them look more shaded in and defined.
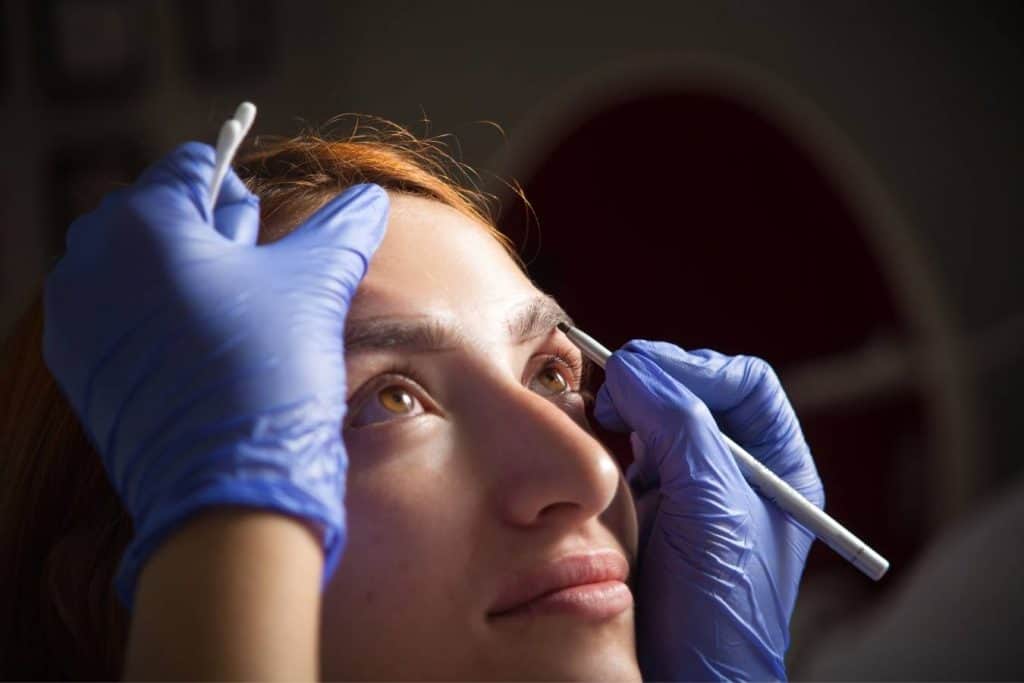
Brow lamination shapes the brows by enhancing what you already have and manipulating the direction the hairs grow in.
Some eyebrow artists have packages where they do both, and others recommend choosing one or the other for the integrity of your brows.
The combination of brow lamination and henna tinting can give a microbladed appearance without actually having to get your brows microbladed.
If you don’t know if you want to commit to a semi-permanent procedure, or if you aren’t sure about the look of it on yourself, doing a combination of brow lamination and henna tinting is a great way to test the waters.
Also, both brow lamination and henna tinting are not invasive. Microblading utilizes needles which creates trauma to the skin, while brow lamination and henna tinting are painless.
The combination of both brow lamination and henna tinting usually lasts 4 to 8 weeks depending on how you care for your brows.
This varies from person to person depending on factors such as brow type, skin type, and lifestyle.
How Long Does Brow Lamination Last?
Brow lamination lasts 4 to 6 weeks before you have to get them laminated again.
This varies from person to person and is dependent on a variety of different factors such as brow type, skin type, and lifestyle.
For example, brow lamination on people with oily skin tends not to last as long. Also, the more you work out or work up a sweat, the shorter the brow lamination is going to last.
If you do have oily skin, ombre brows is a great alternative to try.
You should also be wary of washing your face during the first 24 hours as getting your eyebrows wet may ruin the lamination.
How To Laminate Your Brows At Home
While brow lamination isn’t as invasive or tricky as other brow services, there are still some risks for doing it yourself at home.
It is always recommended to speak with a professional and get their input before trying anything like this yourself.
For example, you should not undergo a brow lamination treatment if you are pregnant. This is due to the fact that you will have elevated hormone levels and this could increase sensitivity to the product.
With that said, it is possible to laminate your brows at home and many people have had success with it.
Here’s how to laminate your eyebrows safely and effectively at home.
1. Purchase An Eyebrow Lamination Kit
Purchasing a brow lamination kit is going to provide you with most things you need to laminate your brows.
There are plenty of different options on the market, but here are some of our favorite Amazon picks:

ARYANA NEW YORK Eyebrow Lamination Kit
The Aryana Brow Lamination Kit is one of the most popular brow lamination kits on the market. It advertises as a four-step process, and it has enough materials in it for up to 10 applications.

Sunset Brow Lamination Kit
The Sunset Brow Lamination Kit is another popular brow lamination kit that can also be used up to 10 times. It even comes with other tools such as a brow trimmer.

MELLUCCI DIY Brow Lamination Kit and Lash Lift Kit 2 in 1
The MIYA LASH 2 in 1 Lash Lift & Brow Lamination Kit is a brow lamination and lash lift kit in one, so you can have both beautiful brows and lashes.
2. Apply Barrier Cream
A barrier cream most likely will not be included in any brow lamination kit you purchase, but it is essential to use, as it keeps the skin safe and non-irritated. You don’t need to use anything fancy.
In fact, Vaseline or Aquafor are some of the best barrier creams.
Apply a layer of barrier cream directly under the eyebrows. Since you are going to brush the brows upward, apply the barrier cream slightly away from above the eyebrow.
3. Shape Brows
Next, you’re going to want to shape your brows into your desired shape. You can look at this as the rough draft before putting the actual solution on the brows.
Your kit should come with brow glue to start this process. It is called something different in every kit, so read your instructions manual that comes with the kit you purchased to know which product is which.
You’ll use this on a spoolie to brush and shape your brows into whatever position you’d like.
A lot of people prefer the brows to be more fluffy towards the inner brow and more defined towards the end of the brow.
When doing this, make sure the hairs are all completely saturated and flat against the skin.
4. Apply Perming Solution
Once the glue is applied to all of your brow hairs, wait a few minutes until it becomes tacky.
Once this happens, it is time to apply the perming solution.
How long you leave the perming solution on is where most people make mistakes.
This is because a lot of people think their brows are thicker than they are, and the timing differs in all the different kits.
Instructions
- As a general rule, leave the solution on for a minute less than what they suggest.
- After you completely coat the brows in the perming solution, lay down a layer of plastic wrap across your forehead and brows.
- Then, once the time is up, you can remove the plastic wrap and rinse the solution from your eyebrows.
- Remove any excess solution with a damp cotton pad.
If you are unhappy with your laminated brows, it’s best to take action straight away rather than wait. The longer the lamination gets to set, the harder it will e to undo.
Neutralize Brows
Instructions
- After you rinse off the solution, you must neutralize the brows so they return back to their usual pH level. Without putting on the neutralizer, the brows will keep processing which will do damage to them.
- Use a spoolie to coat your brows in the neutralizer solution.
- Leave the neutralizer solution for about the same time as you left the perming solution on.
- Once you’ve done this, you can rinse the solution from the brows and get rid of any excess solution with a damp cotton pad.