One of the most common problems with gel nails is the little bubbles that can sometimes appear. But what causes bubbles in gel nail polish and how do you get rid of them? In this article, I explain exactly why this happens and what you should do.
Main Takeaways
- Don’t poke the gel, use gentle sweeping motions
- Prep your nails correctly
- Shake the bottle
- Cure after each step
- Don’t apply too thick layers
- Use quality products
What Causes Bubbles In Gel Nail Polish?
The main reason why you get bubbles in gel nails is that you are prodding the gel too much. Use sweeping motions across the nail and even out any bubbles you see before curing the nail.
There are however also other reasons why the little bubbles appear. Let’s take a look at them:
1. Nails Have Not Been Prepped Correctly
Remove any old polish from your nails and make sure they are clean and dry. Lightly buff your nails and wipe them with alcohol with a lint-free wipe.
Apply primer if required by the manufacturer. Air dry for 3 minutes (or according to pack instructions) before applying a base coat.
Your nails need to be completely dry, and free from lint, oil and lotion before you begin.
If not, gaps can occur between layers and the gel polish may not adhere properly to your nails, causing bubbles to appear.
2. You Forgot To Shake The Bottle
You need to shake the bottle of gel polish before using it. If you don’t, it may be difficult to apply the polish evenly to your nails.
The gel polish may have separated in the bottle. Shaking the bottle first helps to settle the gel formula and thicken it, helping it to spread evenly on the nail.
So, remember to always shake your bottle of gel polish before using it.
3. You Used Old Gel Polish
Gel polish thickens over time due to the evaporation of the liquid chemicals within it. This makes it difficult to apply a thin enough layer to the nail so that it cures properly.
It is possible to buy gel polish thinner that thins the consistency of gel nail polish.
To use, add a few drops of the solution to the bottle of gel polish. Replace the lid, and shake vigorously for 1 to 2 minutes.
Then inspect the consistency of the gel polish on the brush. It should be thick but still drip from the brush easily enough.
Add more thinner as required. Add only a drop or two at a time, as if you make it too thin, you can’t thicken it again.
If the gel polish inside the bottle is so thick that it distorts the bristles of the brush, throw it away. Once it has solidified it can’t be brought back to liquid form.
4. You Applied Thick Layers

If you apply gel polish in thick layers, the gel polish will only cure on the top but still be soft underneath.
This is because the UV light will not be able to penetrate the gel once it has hardened on top. These soft underlayers can lead to bubbling.
This is especially the case with black, white, or opaque gel colors, as these colors are more difficult for UV light to penetrate.
Apply thin coats only. If you’re not happy with the shade you can always add another layer after curing. It’s easier to do this than remove all the polish and start again.
To make sure you only paint on a thin layer, remove excess gel polish by scraping the brush against the inside rim of the polish bottle before application.
When applying to the nail, press firmly to ensure only a thin coat is applied.
You can then remove any excess from the brush by scraping it against the rim of the polish bottle, then brush over the nail surface again to ensure a thinner coat.
5. Make Sure You Cure After Each Step
A gel manicure always requires 3 steps: base coat, gel color, and top coat. Each of these stages must be fully cured under a UV or LED nail lamp.
Under-curing any of these stages can lead to bubbles in your gel manicure.
Each step has a different curing time, so always check the product instructions.
Check out our ultimate guide to Gel Base Coat VS Gel Top Coat.
6. Make Sure Each Nail Is Cured Properly
Each nail must get the correct amount of time under the UV or LED light to fully cure.
It might sound obvious, but if you’re finding you’re regularly having problems with your thumb or pinky finger, make sure you are placing your hand properly under the light.
You need to make sure that all your nails are facing the light when under the UV light, especially the thumb and pinky finger, as these are the areas that are commonly missed, causing the gel polish to be hard on top but soft underneath.
If your hand is at an angle, your thumb or pinky finger may not get the light it needs to properly cure the nail.
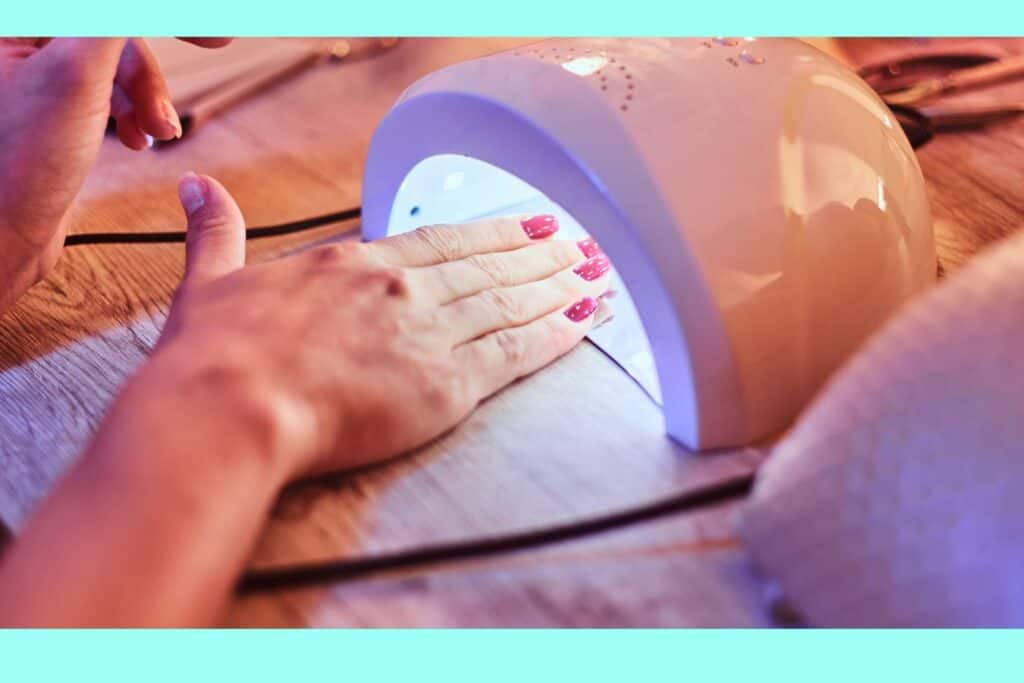
8. Your Nail Lamp Is Ineffective
You cannot dry gel nails without a UV or LED lamp.
Regardless of which type you have, they will get weaker and less effective after a while.
For UV lamps, the bulbs will need to be replaced every 6 months on average.
When UV bulbs are near the end of their life, they will not cure gel polish effectively. They will only cure the top layer of gel but not the lower layer.
Although LED lamps are usually more expensive, they last for much longer than UV lamps and the bulbs will not need to be replaced as they do with UV lamps.
If an LED lamp becomes less effective, it means it is at the end of its life and needs to be safely disposed of.
It is not recommended that you purchase a nail lamp that is below 10 watts for home use, as the results will be disappointing.
Another thing to bear in mind is that not all nail lamps come equipped with a reflective plate at the bottom.
A reflective plate produces enhanced light intensity for faster, more even results.
If your lamp is missing a reflective plate, place it on a reflective metal tray while using, or a smooth, light-colored hard surface.
Can Bubbles In Gel Polish Be Fixed?
When it comes to bubbles in gel nail polish, prevention is always better than cure.
However, in some cases you may be able to disguise the appearance of bubbles in your gel polish, so you do not have to start all over again.
If the bubbles in your gel polish are not too extreme, you might be able to smooth over their appearance by adding one more gel topcoat.
This will make the defects less noticeable at arm’s length.
Alternatively, you can cover the bubbles or wrinkles with a nail decal or by gluing on a rhinestone.
If you do choose to disguise the defect in this way, bear in mind that it won’t last as long as your other nails.
Alternatively, the only other option is to remove the polish from the affected nail and start again.
This may be more time-consuming, but it will be worth it if you want immaculate nails.
How To Remove Gel Nail Polish
The most effective way to remove gel polish at home is with acetone.
Instructions
- First apply petroleum jelly to your cuticles and the skin around each nail.
- Then apply half a cotton wool ball soaked in acetone to each nail (a quarter of a cotton wool ball will be enough for your pinky finger), and wrap it in place with plastic food wrap. Leave for ten minutes.
- Then remove and wash your hands with warm water and gentle soap to remove the acetone.
Do Gel Manicures Ruin Your Nails?
Gel manicures look beautiful and last for a long time. However, they can be tough on your nails.
Repeated gel manicures can lead to brittle, peeling, and fragile nails, so be sure to give your nails a break from gel polish.
Meanwhile, repeated exposure to UV light can increase the risk of skin cancer and premature aging on your hands, so use a hand cream with SPF before starting your gel manicure.
What’s The Difference Between Gel Nails And Gel Polish?
Gel nails and gel nail polish are two different things.
Gel nails are false nails that serve as an enhancement for stronger, longer nails.
Gel polish is a type of nail polish that lasts longer than standard nail polish, and needs to be cured under a UV or LED light.
So, What Causes Bubbles In Gel Nail Polish?
When doing your gel nails, make sure you use sweeping motions to apply the gel. Don’t poke and prod at the gel as this will create air holes. Instead, gently apply the gel pearl on top of your nail and drag it along the nail and let set.
Other reasons for the bubbles in gel nail polish also include:
- Nails Have Not Been Prepped Correctly
- You Forgot To Shake The Bottle
- You Used Old Gel Polish
- You Applied Thick Layers
- Make Sure You Cure After Each Step
- Make Sure Each Nail Is Cured Properly
- Your Nail Lamp Is Ineffective