One of the best tools for keeping your nails well-groomed is a nail buffer. But can a nail buffer be used as a file for those pesky sharp corners? Don’t worry, we’ve got the answer.
In short, yes you can use a nail buffer as a file. A nail buffer typically has four sides, one of which is a filing side. You can use this side to file and shape nails, before using the other three sides to buff, polish, and add shine.
What Is A Nail Buffer?
A nail buffer is a nail tool. It’s used on the surface of nails in order to make their surfaces smoother, essentially buffing away any excess texture or ridges.
They also add shine, which makes your nails look healthier overall, as well as appearing a little cleaner.
A nail buffer typically has four sides, unlike a nail file, which tends to just have two side.
By contrast, a nail buffer usually has two different ‘grit’ levels on each side as well as another side used for buffing and shining the nail.
You can purchase a 3-in-1 nail buffer which works as both a buffing and filing tool.
You use this to file or grind down the nails, as well as to shape them and smooth their surface. However, most individuals won’t tend to have nail buffers in their at-home manicure set.
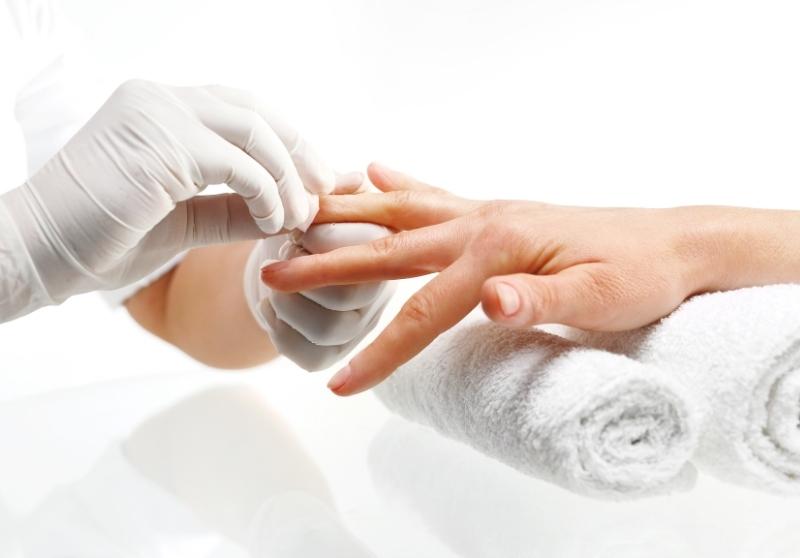
You’ll tend to find them more often at salons.
How To Use A Nail Buffer

Firstly, ensure that your nails are clean and dry. Remove any old polish and use a clipper in order to trim them to your desired length.
As buffing your nails does cause some degree of abrasion, you shouldn’t be doing it too often, or you may cause your nails to weaken or thin.
Go for once a month, but you may be able to buff your nails less, depending on their natural shine.
Step 1: File
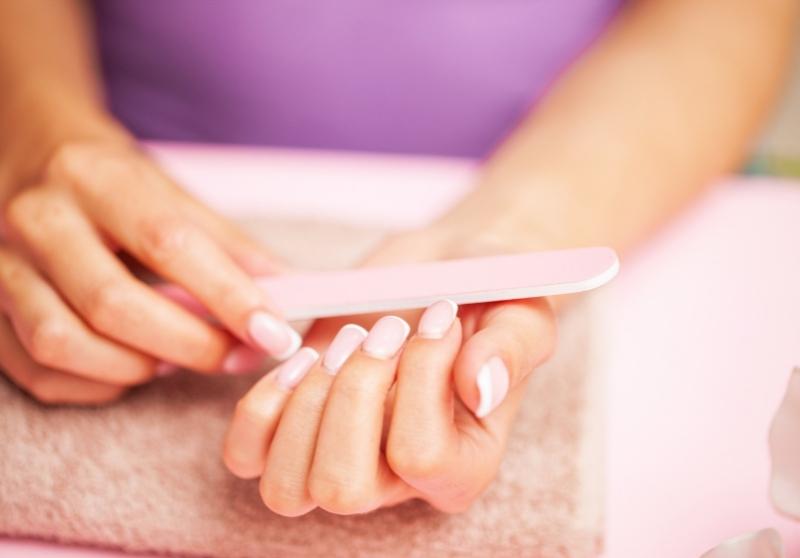
A nail buffer should have a filing side. Use this to shape your nails, moving only in one direction, with short deliberate strokes. Sawing away at your nails will weaken them.
Step 2: Buff
Now, you buff away any rough edges or ridges on the nail’s surface. If you regularly pick at your cuticles, your nail will grow in with dips or ridges, so you may have to buff a little harder to smooth these out. It’s also best to avoid biting your cuticles as far as possible.
Use an ‘x’ motion to buff your nails, moving from one corner down to the diagonal, and vice versa. Moving from side to side will cause heat from the friction, and may dehydrate your nails.
Step 3: Polish
Now that you’ve buffed your nails, use the polishing side to get a real shine. Remember that the less coarse the grit of your buffer is, the glossier your nails will look. Use back and forth motions to polish your nails.
The smoother your nail texture, the better any nail polish will go on. But don’t overdo it and cause any damage.
Similarly, if you’re looking to get a gel manicure, the gel will bond better with slightly rougher nails, so don’t overdo the buffing.
Step 4: Shine
Use the remaining side of your nail buffer to shine your nails and add a little gloss. Remember to use the ‘x’ motion described above.
If you’re going to add polish, this won’t stick as well to shiny nails, so perhaps skip this step.
Follow buffing your nails by adding cuticle oil to your cuticles and massaging the oil into your nail beds.
Can A Nail Buffer Be Used As A File?
A nail buffer can be used as a file, provided you use the ‘file’ side in order to do so. However, if you rely on a nail file in order to shape or manage the length of your nails, you’d probably benefit from purchasing a proper nail file in order to do so.
What Is The Difference Between a Nail Buffer, a Nail File, And An Emery Board?
A nail file is a tool used to file down and shape nails. Unlike a nail buffer, which is classified as a nail tool, a nail file is typically considered an accessory.
The file is useful for quick fixes to slightly chipped or broken nails, as well as with making at-home changes to a nail’s length.
However, they also have a place in manicure and pedicure procedures.
A nail file comes in various different materials, including glass, ceramic, and mylar. At-home nail files tend to be a padded cushion style.
You can get metal ones, but if these are used incorrectly, they can cause nail splitting, so it’s best to be cautious.
Nail files come in various shapes. They are straight, in both wide and slim styles. But they also come in diamond, moon, and ovular shapes.
It’s really up to personal preference to decide which shape best suits your needs.
If you can pay a little more, it’s worth doing so. They can be disinfected with specially designed disinfectant liquid if you’re concerned about cleanliness.
As such, it’s better to spend slightly more on a high-quality nail file so that you’re sure your nails are receiving the best treatment.
Cheaper options will be less strong, and you may find that they break or split quickly.
By contrast, an emery board is typically less professional. It’s usually a strip of wood or cardboard with padding on either side.
It is then coated with emery – an abrasive, hard mineral – which can be used to file and shape nails down.
What Can I Use Instead Of A Nail File?
We would always recommend using an emery board, nail file, or nail buffer in order to shape your nails.
You may also use nail clippers in order to manage the length of your nails. Manicure scissors also work just fine.
However, if you don’t have any of these, and are in desperate need to shape or fix a broken nail, then Healthline recommends using either another set of small scissors.
At worst, you could use sandpaper, which is essentially like an emery board. Do not bite your nails or attempt to use any other kind of power tool.
What Is The Best Nail File Grit For Acrylic Nails?
Nail files have grit numbers. This refers to the coarseness of the grit of the file. If both sides of the nail file have the same number, then they are the same level of grit.
So, for example, a file of 150/150 means that both sides are the same coarseness, compared to a file that’s 100/150.
The higher the grit number, the softer the file will be. Lower grit numbers indicate a higher coarseness.
Acrylic nails are hard. As such, they require more grit in order to file and shape them, as well as more pressure from you.
Look to use a nail file with 100/180 coarseness. Use the 100 side to alter the length of your acrylic nails, and use the softer 180 side to shape the nails once you’ve managed their length.
If this number combination isn’t working for your acrylics, you could always go for 80/80, which is the coarsest nail file available.
What Is The Best Nail File Grit For Natural Nails?
Natural nails require a nail file that’s less coarse than acrylic nails. Remember, the higher the grit number, the smoother and less coarse the file will be.
With natural nails, a file that’s 180/180 should be fine. Use this to shape and manage the length of nails.
However, if your nails are very damaged and dehydrated, you may need a higher grit number – anything up to 240.